Table of Contents
How to Manually Manage Server & Device HashKey
Concept
This is a new security feature that is introduced with BioStar 2.6. which allows you to choose your own HashKey to encrypt your database and devices.
If you are going to apply this feature to an existing site, it will lead to data loss and require you to reconfigure all the PIN and password.
The server and devices are unusable during the migration process and Secure Tamper is always on when you use this feature.
You must turn on the Secure communication with device feature to use this feature.
Please take note of the cautions before using this feature:
Device
- ALL the users on the device are deleted and transferred to the device again when this feature is turned on.
- When a new device is added to the server that has been encrypted, ALL data will be deleted and synced again with the server
- Secure Tamper will be on by default when you use this feature. You cannot turn the feature off. This means that when the device is removed from the bracket, ALL data in the device will be deleted.
User
- Any users with PIN or password have to reconfigure the password because it is not usable after the encryption.
- You cannot apply this feature if any user has a PIN or password. You have to delete all of them before proceeding.
- If smart cards were issued before the encryption, card + fingerprint authentication will work but card + PIN will not work. The smart card will have to be issued again with a new PIN.
Database
- The database goes through a migration phase to encrypt the database once you apply the feature. BioStar client is not usable at this state.
- The migration encrypts personal data (password, PIN, face, and finger template) in the database.
HashKey
- The manually configured security key is stored in a secret location and not the database
- In P2 and N2 devices, the security key is stored in the secure element which is separate hardware from the flash memory
- You must keep a record of your manual security key that you configured
Configuration
1. Log in to Biostar 2 with the admin account for user ID 1. Other administrator users can't access Advanced Security Settings.
2. Go to Setting > SECURITY > Advanced Security Settings
3. Turn on Secure communication with device.
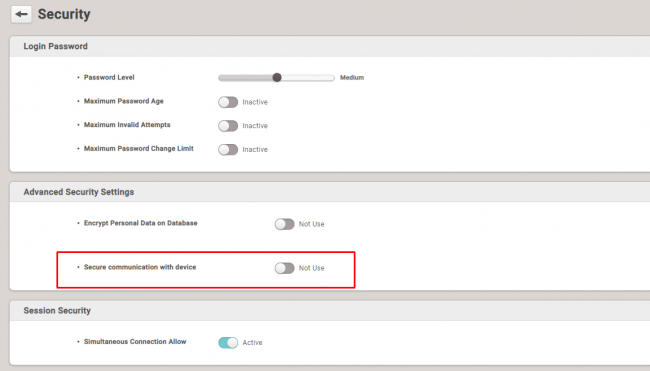
4. Click Continue when a warning popup appears.
5. Turn on Server & device Hashkey management.
6. Click Continue when a warning popup appears.
If not, you cannot turn on the feature.
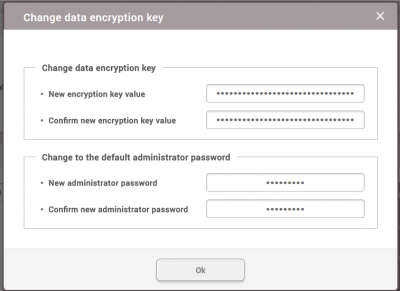
7. Click Change on the HashKey item.

8. Enter your new encryption value.
9. Enter your default administrator password. This will be the password for the default ID 1 admin.
10. Click OK.
11. Click Apply.
12. When the migration page appears, click Start.
13. Wait for the data migration to complete.
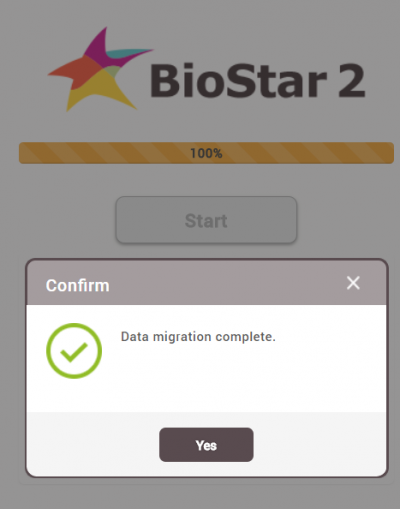
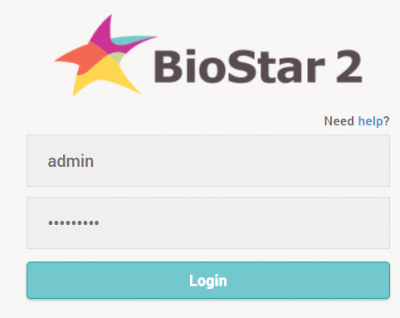
14. Login to BioStar 2 with your new admin password. The ID is admin.
Turning the Feature Off
When turning the feature off again, the same PIN and PW restrictions must be applied.
You will have to delete all user's PINs and passwords to proceed.
1. Log in to Biostar 2 with the admin account.
2. Go to Setting > SECURITY > Advanced Security Settings
3. Turn off Server & device Hashkey management.
Else you cannot turn off the feature.
4. A popup will appear to ask you to change the default admin password.
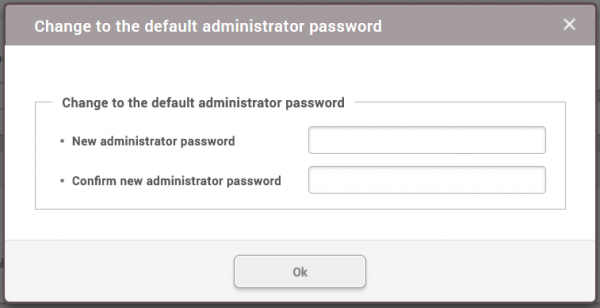
5. enter your password and click OK.
6. Click Apply.
7. When the migration page appears, click Start.
8. Wait for the data migration to complete.
9. Login to BioStar 2 with your new admin password. The ID is admin.