Image Log Storage Path and Auto Saving
Starting from BioStar2 version2.7.2, user can pre-configure the image log storage path and auto-saving without having to view or check logs from the monitoring menu.
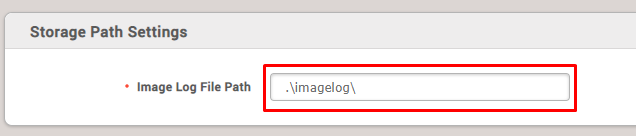
1. Configure the image log storage path.
- Log in to BioStar 2 → Settings → Image Log → Storage Path Settings

- Configure the image log file path as below. Default value is '.\imagelog\'.
- Some of symbols (/, *, ?, “, <, >, |) cannot be supported to set image log file path.
2. Enable image log feature from the device.
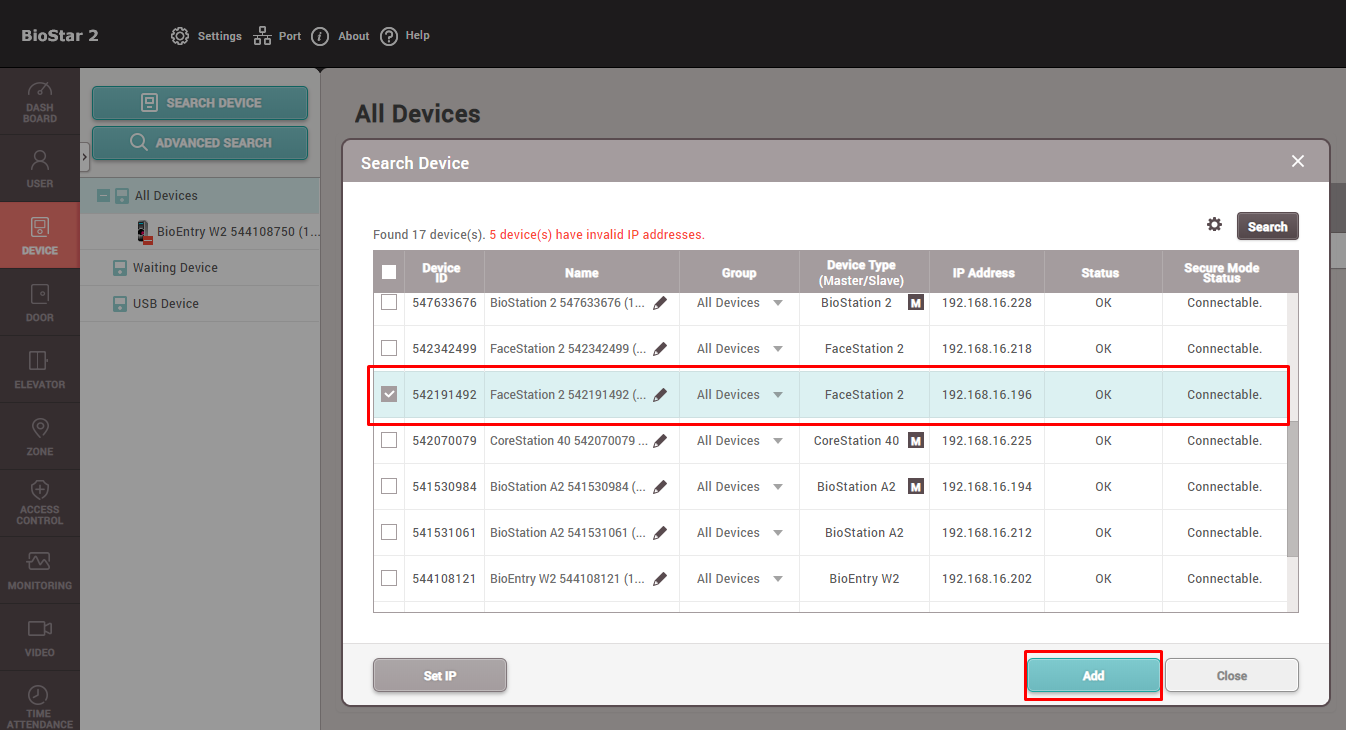
- Register the device on your device list.
- Go to 'Device → (Selected Device) → advanced → Image Log → enable 'Image Log' → click 'Apply' button on the bottom.
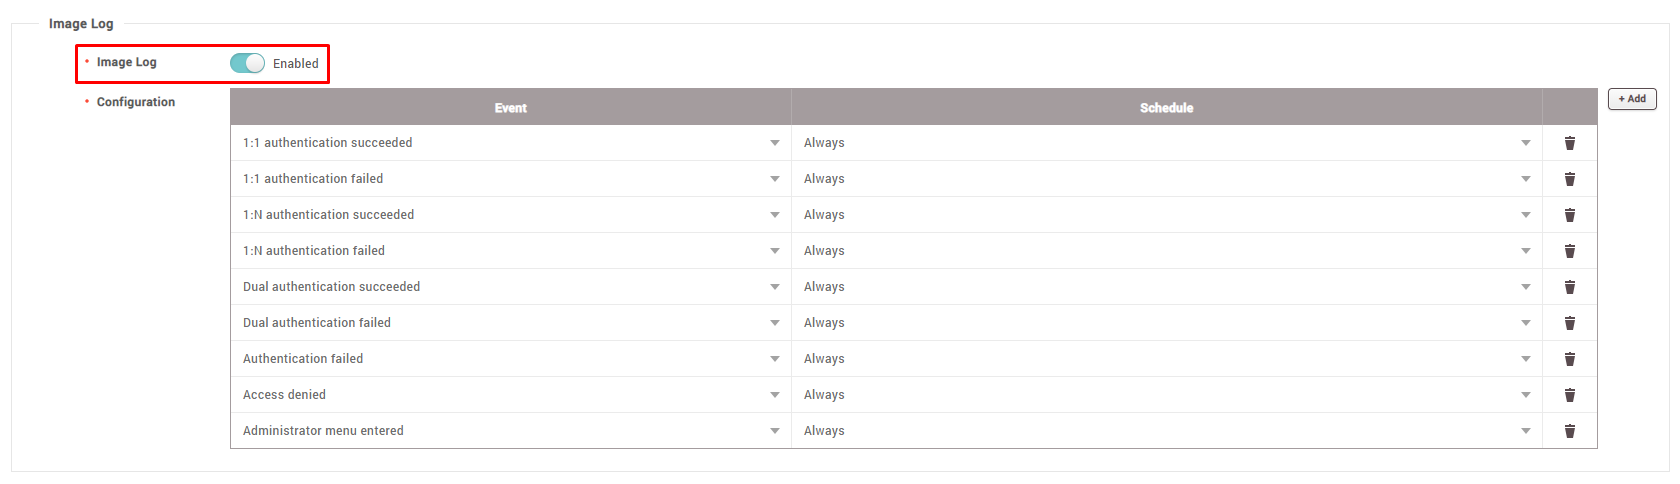
- Image log requires picture taking; not all SUPREMA devices support the image log feature. If your device has a camera for facial authentication, you can use the image log feature guided as below.
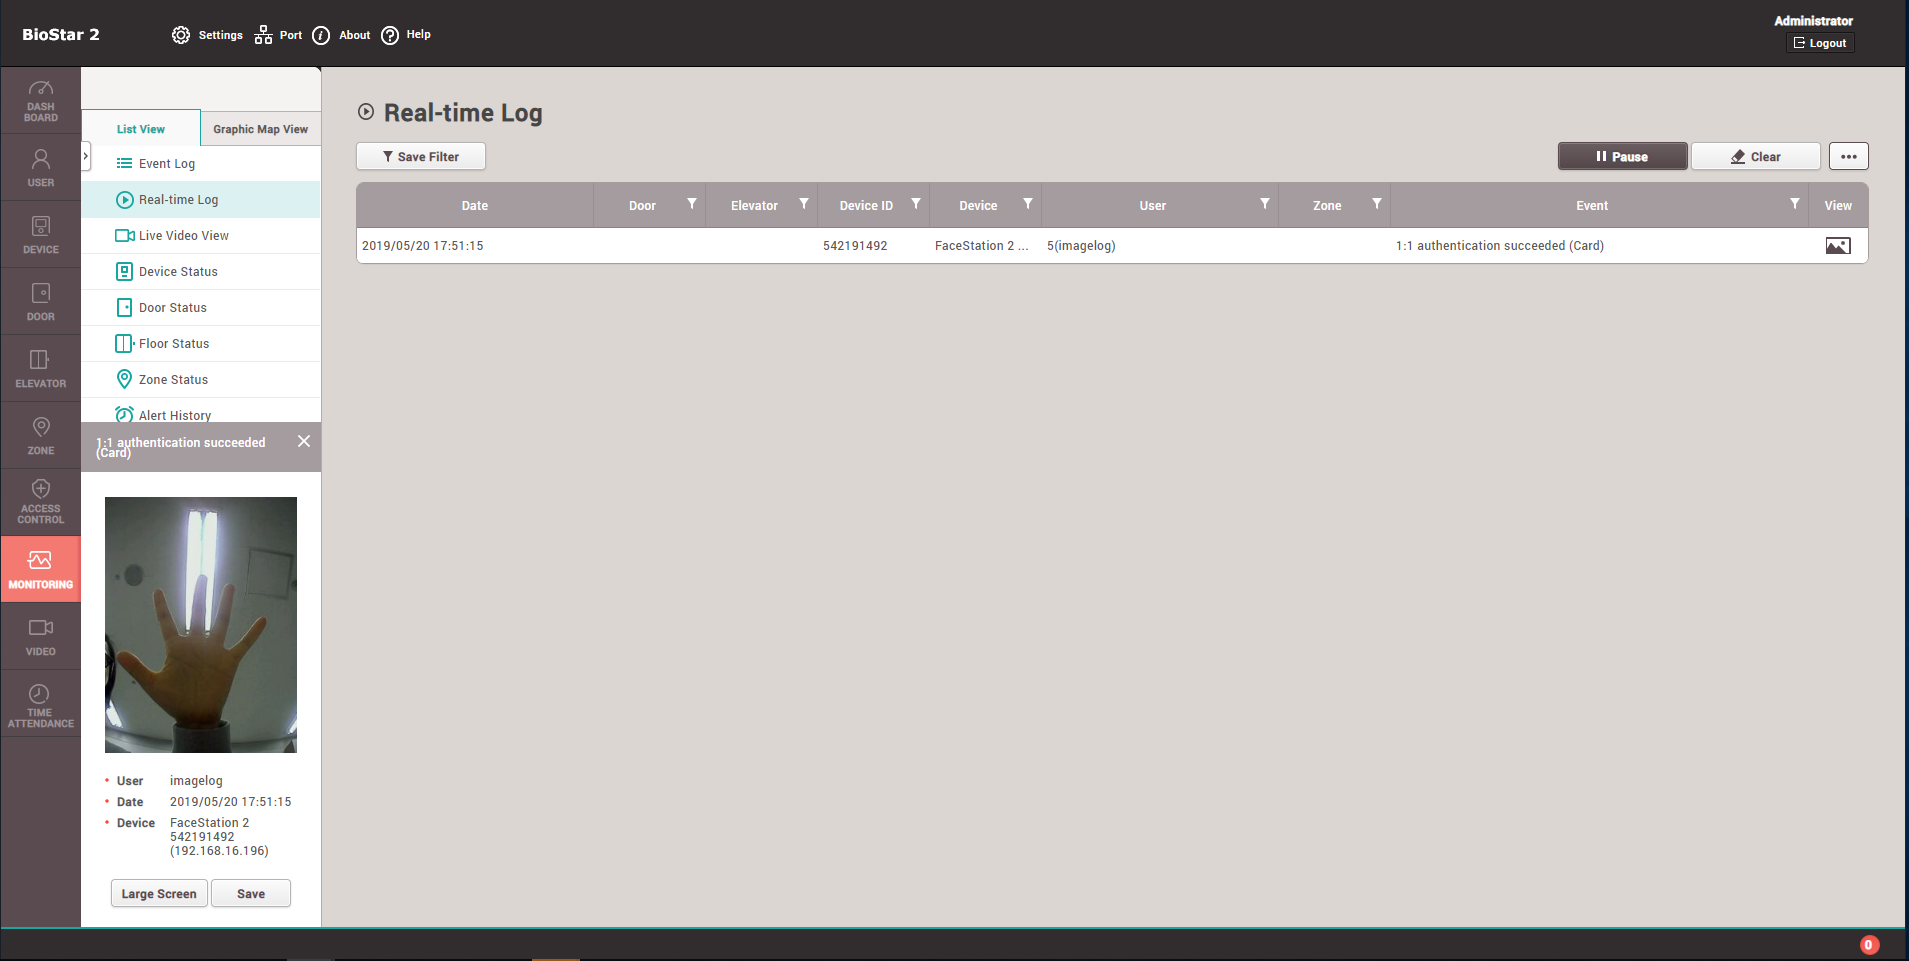
3. Check your image log saved correctly.
- Go to 'Monitoring → Real-time Log.
- Shown below sample: configure to save an image log when 1:1 authentication succeeded.
Go through the card authentication process and check the image log saved on the left below.
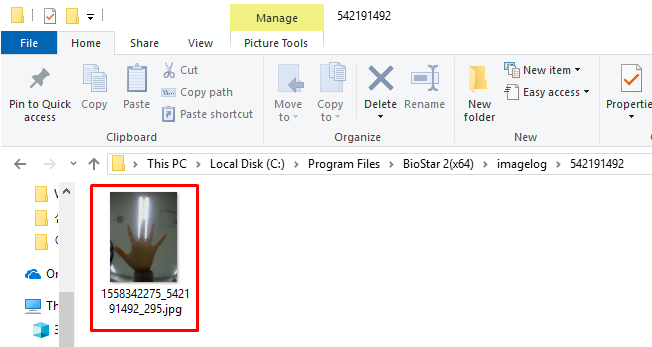
- When the image log is captured, the image automatically gets saved in image log file path which you configured in Settings → Image Log → Storage Path Settings'.
- Following sample is configured as '.\imagelog\'. Image file is saved under the '(device ID) folder'.
4. Image log auto saving without viewing or checking logs from the monitoring.
- Even though your device is not connected to BioStar 2 server, or you were not checking all image logs through the monitoring page, image logs are saved automatically.
- Case 1: did not check the image log, the log will be saved at the image log file path: If your device is connected with BioStar 2, but you did not check the image log, the log will be saved at the image log file path which you configured in Settings → Image Log → Storage Path Settings.
- Case 2: If your device is not connected with BioStar 2, image logs will be stored in the device and will be automatically saved at the image log file path.
1) Your device saved the image log when specific events happened, such as 1:1 authentication succeed, 1:N authentication succeed, etc.
2) You need to add your device on your device tree.
3) Sync your device with BioStar 2 server. If your device does not get a sync, please do manually as below.
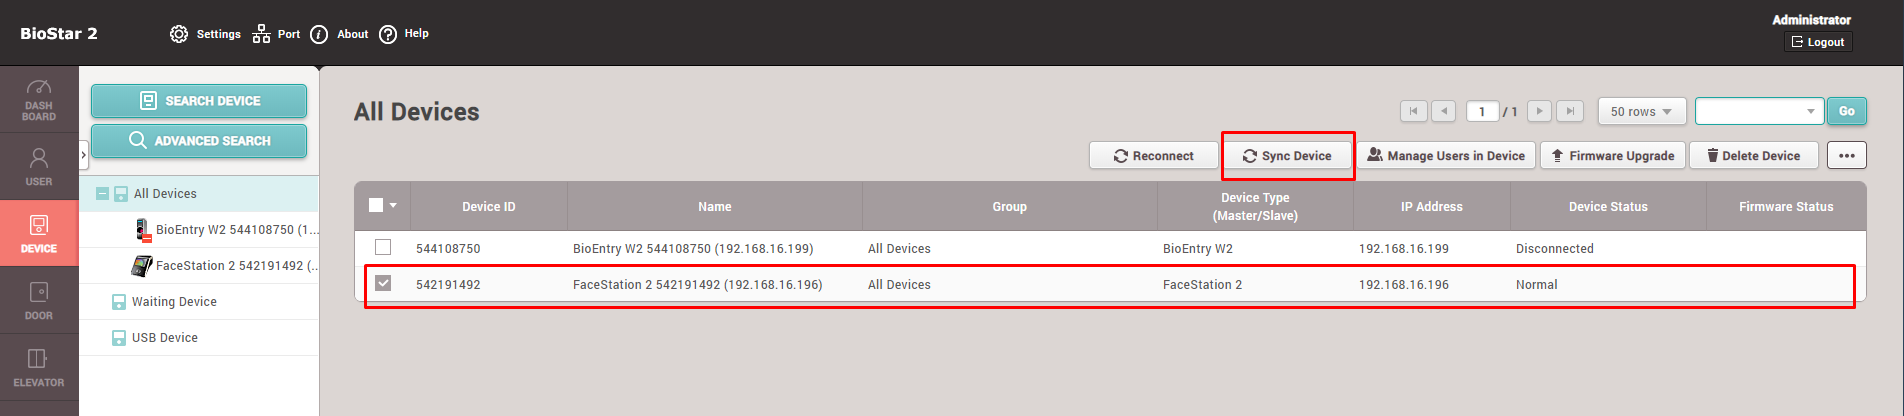
4) When device gets in sync, check the saved image logs as below. (Image log in the blue box is the old one, and in the red box is the new one.)

- Capability limitations of saved image logs is different for each device. Please double-check and confirm the limitation of your device from the User Guide Manual.