Table of Contents
How to issue smart cards
The BioStar 2 system is designed to authenticate users by matching the authentication templates stored inside the device with their fingerprint templates. However, there are needs for securing personal information such as fingerprint templates. In BioStar 2, the administrator can use a concept called smart card which will allow issuing cards to store users’ fingerprint templates inside the card and they carry it around for authentication. This will lead to a more secure environment since the devices don’t need to hold the user information inside them.
To issue a smart card, such as Access on Card or Secure Credential card, you will have to configure the smart card format first and apply it to the device.
Secure Credential Card is used when only to store the fingerprint template inside the card.
Direction: Settings>Server> [Delete personal & credential data when issuing an AoC]
In addition, please disable [Automatic User Synchronization]. If not, the BioStar 2 server will synchronize the user information to the connected devices automatically.
Configuring a smart card format
1) Go to Settings → Card Format → Add Smart Card.

2) Enter the name of the smart card format. There are 4 types of cards supported for the AoC card and the SC card, Mifare, iClass, DESFire, and iClass Seos (added in BioStar 2.6). Select the card that will be used for the smart card.

3) You can select to use up to 2 card keys for the card. To use the Secondary Key, you will have to activate it first. Check the checkbox if you need to use the key.

4) You can configure how many templates you want to store inside the card and which block to start storing the information on. You can also configure the template size, if you don’t have enough space on the card to fit the template.

Applying the configured smart card format to the devices
To make the device read the smart cards, you will have to set the device to have the smart card format.
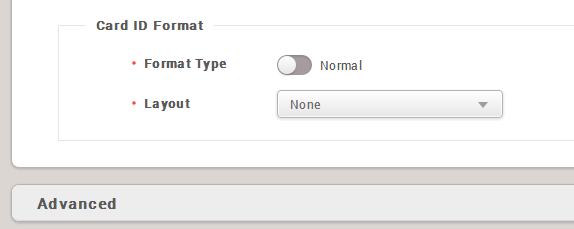
1) Go to Device → Select the device → Authentication Tab → Card ID Format.
2) You will find the smart card format layout menu. Select the layout that you want to apply.

Formatting a card
The card needs to be formatted before being used as a smart card. The card information stored in the blocks will be deleted.
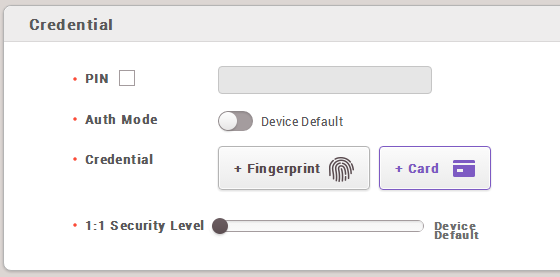
1) Go to User → Select a user → + Card.

2) Select Read Card from the Card Type menu.

3) Select the device to format the card.
4) Click Format Card and place the card on the device. If the format is successfully done, you will hear a sound from the device.
Issuing a smart card
1) From the same screen, please change the Card Type to Enroll Smart Card.

2) Select the device to enroll the smart card.
3) Select the smart card type. Access on Card and Secure Credential Card is supported.
3-1) The Access on Card will use the user ID same for the secure ID.
3-2) The Secure Credential Card’s secure ID can be modified.
4) Select the fingerprint template to be written on the card. For example, click the 1st button to select the 1st template to be written on the card. The template will get highlighted. A fingerprint must be added first to use the template.

5) Click the Write Smart Card button.